

Well, at least I think that it is! Heh! :P
It was in my previous post that I realized I've not blogged bout the basic of opening and closing of jump rings and so just for the sake of completion? collection?, I shall blog a post about.
I'm sure most of you would have know bout this already but I'll just share with you how I normally do it and a cool little trick that you can do with jump rings.
For those commercial jump rings that you can buy off retail, you will either find them to be closed or open jump rings. Meaning to say that they are either well,......closed or open.
A;ternatively, you can also make your own, heheh! :P
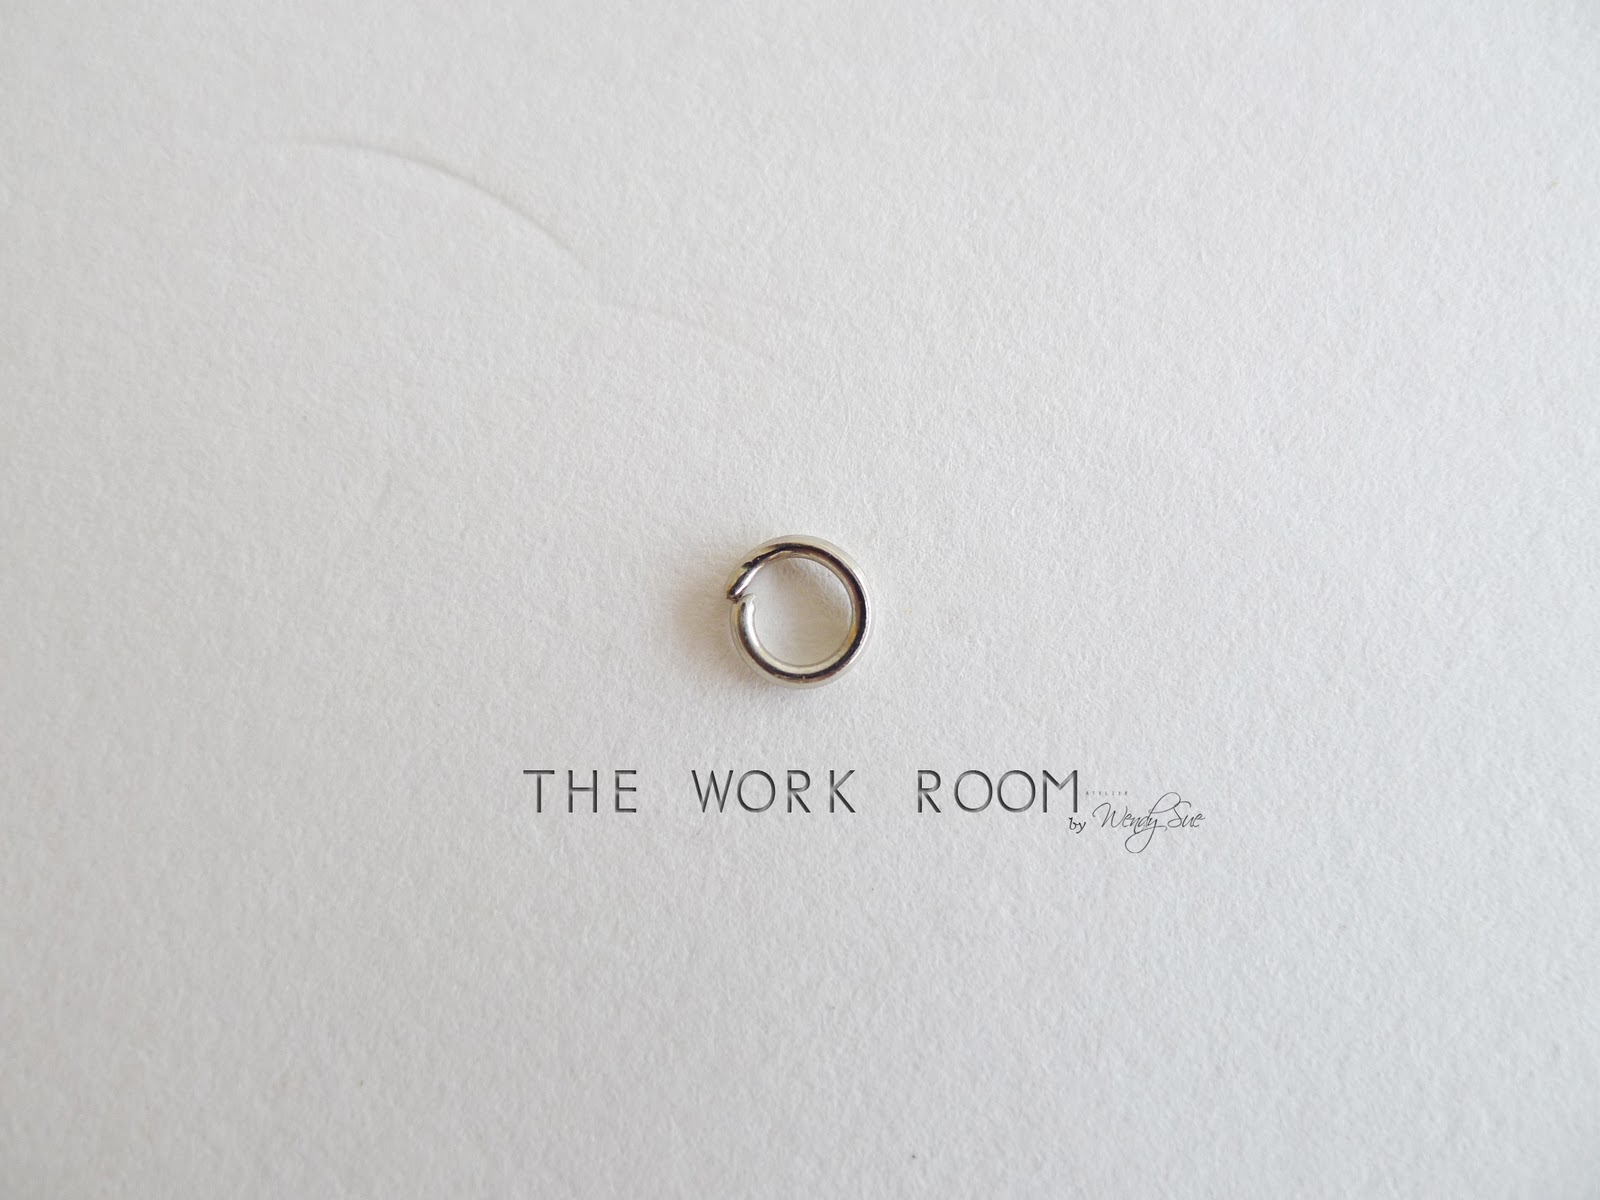
And so here, we have a closed jump ring.

You'll notice that the ends of the jump ring on each side kinda overlaps with each other but that's alright. It can be sorted out just by opening and closing it.
I think it's probably due to the way the cut out the rings from the coil.
Anyway, with your pliers gripping onto each side of the jump ring..... (here, I'm using chain nose plierss on the left and round nose pliers on the right but you can use any other pliers that you are comfortable with)

And pull each side apart from each other in opposite direction simultaneously.
Okay, the key word here is simultaneously cuz I've realized it sometimes doesn't quite closed nicely in a circle if you don't do it simultaneously.
Well, what I mean is that I sometimes have the habit of gripping on one side in a stationary position and let the other side pull away. Erm, know what I mean?
In those circumstances, I've noticed that they don't open up nicely.
*shrugs* hhhmmmm, or maybe it's just me? o_O

And to close the jump ring, very easy. Just push two sides of the ring towards each other.

And, voila!
Actually, this is not my favourite method because for some strange reasons I sometimes can't grip them steadily. Well, I reckon it's more a matter of my personal idiosyncrasy rather than anything else! :P
So what I do is actually grip onto half of the circle rather than just at the sides of the jump ring.

And then use another plier to grip onto the other half of the circle in opposite direction before pulling it apart from each other.

Heh! Just how I like to do it. :P
Ouh, actually, I just remembered another trick on opening and closing jump ring! It just came across my mind as I was typing just now. Don't think can fit into this post now, so I think I'll share it in future posts.
Anyway, that was just the warm up. What I really want to share in this post is this little trick that you can do with your jump rings. More like a design trick if you ask me.

You'll need to link many many jump rings together.
You'll also soon realize what a tedious job it can be to link many many jump rinhs together one by one.
This is how I do it when I need to link many many jump rings together. I don't exactly do it one by one cux I found another way which I find is faster.
I've never exactly timed myself but it did feel like it was done a wee bit faster.
So, this is how I do it.
I first closed two jump ring.

Then, I open one jump ring and slide the two closed one in...............

And close that ring.

And that's how you get the 3 jump ring link shown in the above. I find it's a faster way of linking the three together than say, if you open and close one by one to join them together.
And to continue joining jump rings to the link, close one jump ring.
Open one jump ring and slide that closed one in.

And slide on the longer link (in this case, the three jump ring link earlier on). Close the ring and it feels like you have just joined four jump rings together in 2 steps. Well, that's what it always feel like for me! LOL... :P

That is how you'll be continue adding on links until your desired length.
Next is where the trick is. :)
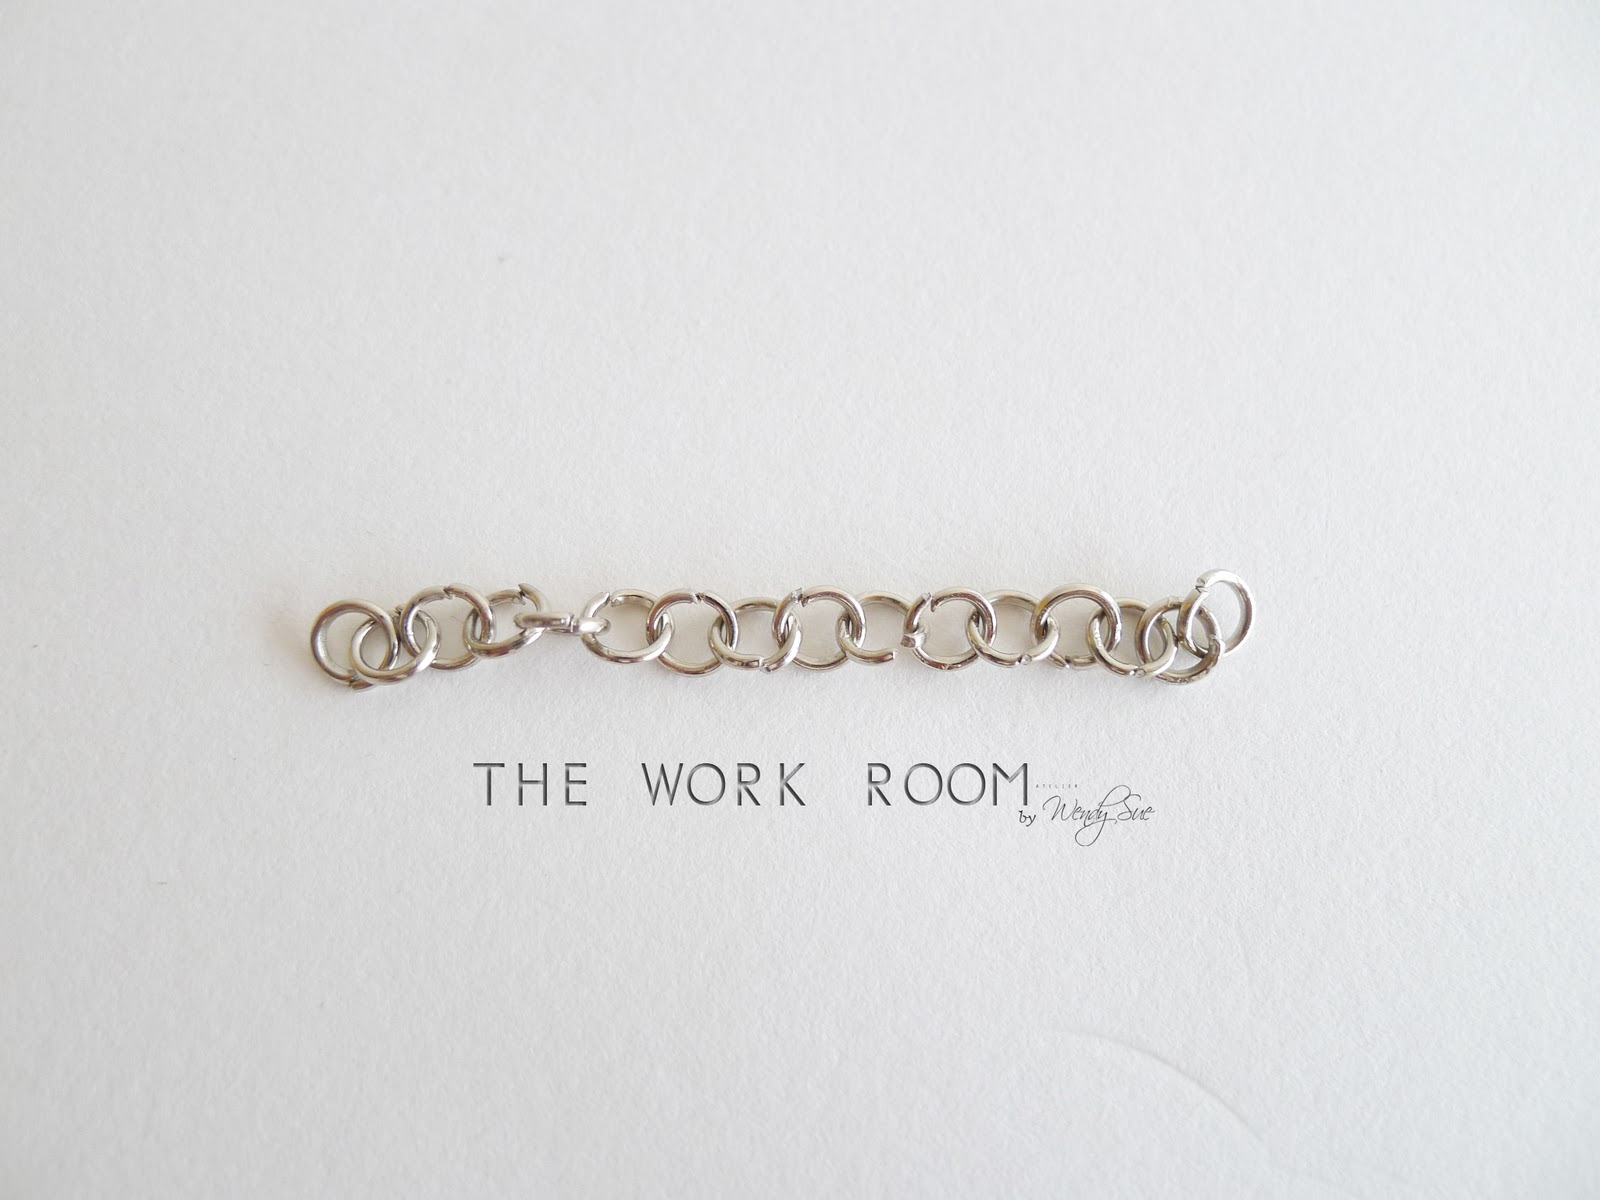
Now, take a piece of wire and slide the wire randomly through each jump ring.
Okay, key word here is through and each until you've passed through the end of the link like the very first picture.

After you have pass through all, next is where I think is the fun part!
You slide all the rings down.

See how the rings all clump up together that gives it that grunge look?
I think it works quite nicely when you incorporate them into your design like what I've did in the two bracelets below here.

Pretty neat, huh? ;)
The one above was done in wire sections whereas the one below done with memory wire.

Have fun trying! :)

0 hollers:
Post a Comment