

Alright, just a 'lil something to look out for here before we actually move on to the second part i.e. the T-bar.
I'm not sure if the picture above come across as clear enough but do you notice the difference between the two?
Well, hahah, ok, apart from the obvious fact that the one on the right is not a perfect circle as compared to the left one. That's not what I wanted to draw your attention to despite being the obvious fact. :P
It's actually the thickness of the circle that I'm talking about. Now, if you look closely (alright, no need to squint your eyes :P) the thickness of the circle of the ring on the right is uneven as compared to the one on the left.
I'm not sure if I've mentioned this before but I couldn't find anything in the older post although I do have this deja vu feeling that I've talked about it before. Hhhhmmmm..... o_O
Anyway, re-telling a grandmother story won't hurt! :P
Alright, back to the main point.
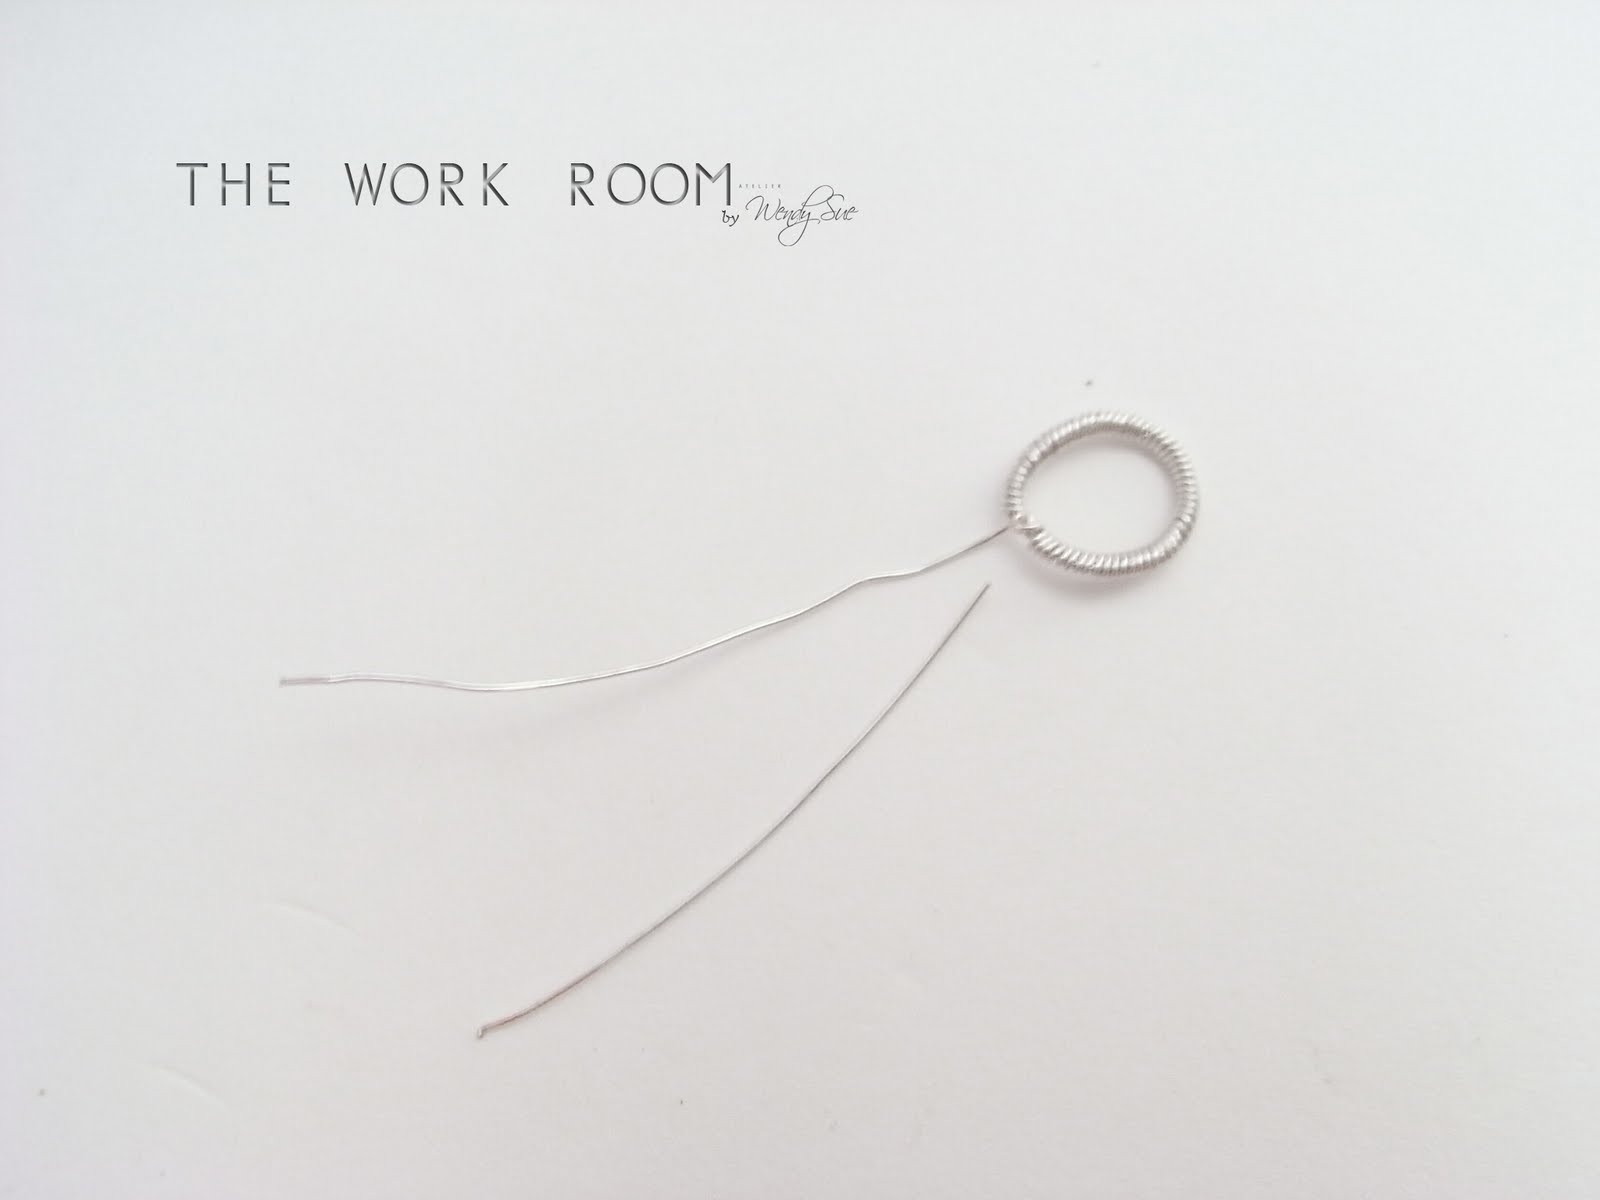
What causes the unevenness begins right from the very first step i.e. when you were forming the base circle shape on the mandrel. It is important that as you wrap the wires around the mandrel, you should do so tightly and similarly when you twist the two wire ends around each other to fasten the shape.
This is so you'll get to circles of the same size, positioned neatly one next to the other.

Now, compare the one at the top with the one below.

It's when you try to wrap two different sizes of circles together that you get the unevenness in thickness.
What happens as you wrap around the circle is that any gap between the two circles will add on to the thickness .

Which is why it's crucial that you get the two sizes of the circles right.

So that as you wrap the two circles together........

You get thickness which are even throughout the circle.
Another thing I find about working with 0.6mm or 22 ga wires is that while it's easier to manipulate and work with, care must also be taken to not exert too much pressure when working on it, especially in areas where wires overlap each other.
Why, you ask?
This
.
.
.
.
.
.
.
.
.
.
.
.
.
.
.
.
.
.
.
.
.
.
.
.
.
.
.
.
.
.
.
.
.
.
.
.
.
.
.
.
.
.
.
.
.
.
.
.
.
.
.
.
.
Erm, well, fact is you do run the risk of the wires breaking if you're not too careful. Yes, you do need to be very careful. Oh well........ *rolls eyes*
So, what happens next? Fret not. It's all good and dandy! =D....... erm, provided you still have one wire end intact. If both wire ends breaks as well..... then I guess you'll have the use a little bit of imagination now, haven't you? :P
Let's see......hhmmm, you can still attach using a jump ring and turn it into some movable ring end I suppose. But in instances where you wires actually broke even BEFORE you finish wrapping the circle, well then, toss it away and start AGAIN and be more careful the second time.
But if you have finished wrapping the circle and with one wire end intact, no problem then! Just make a wrapped loop. Not gonna say too much here. They say picture speaks a thousand words. So, there you go!


Part I here.
Part II here.

0 hollers:
Post a Comment